
Last updated November 15, 2026
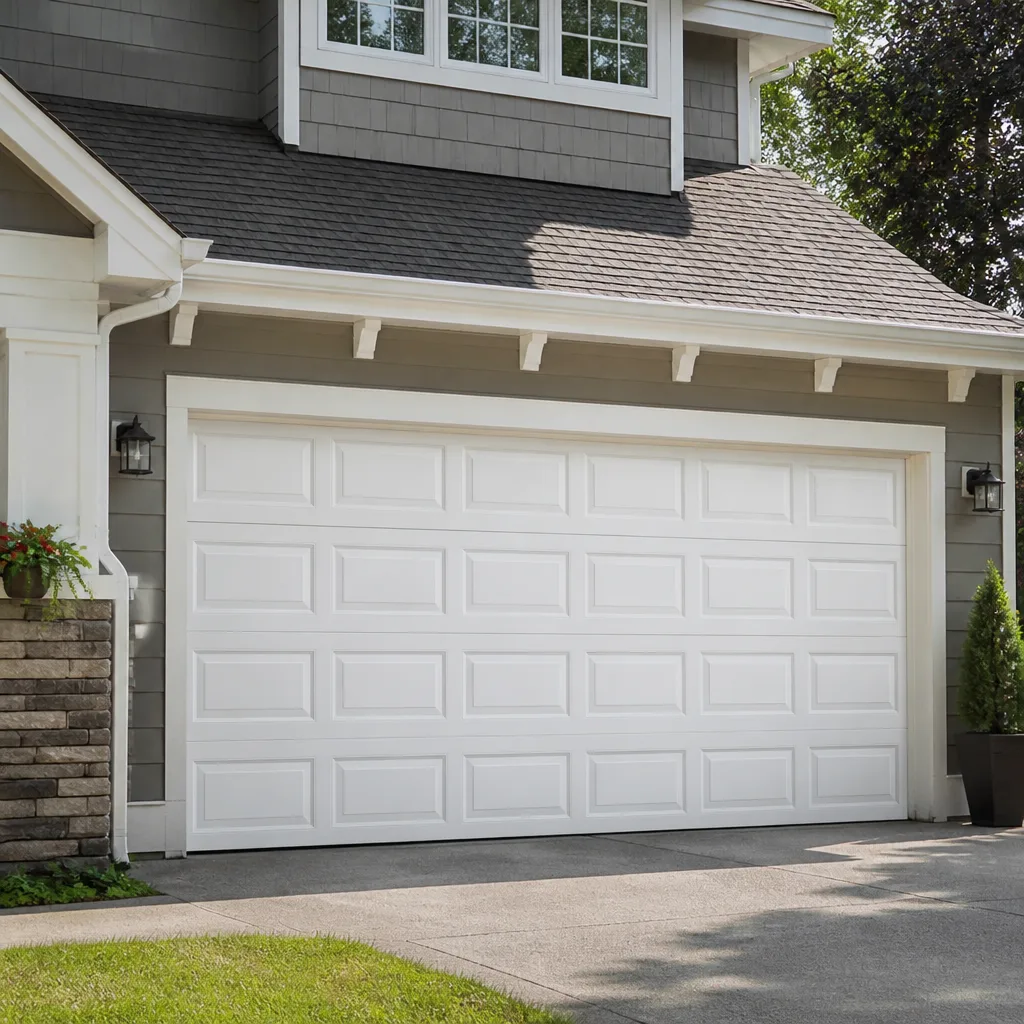 Raised-panel steel
 Carriage house
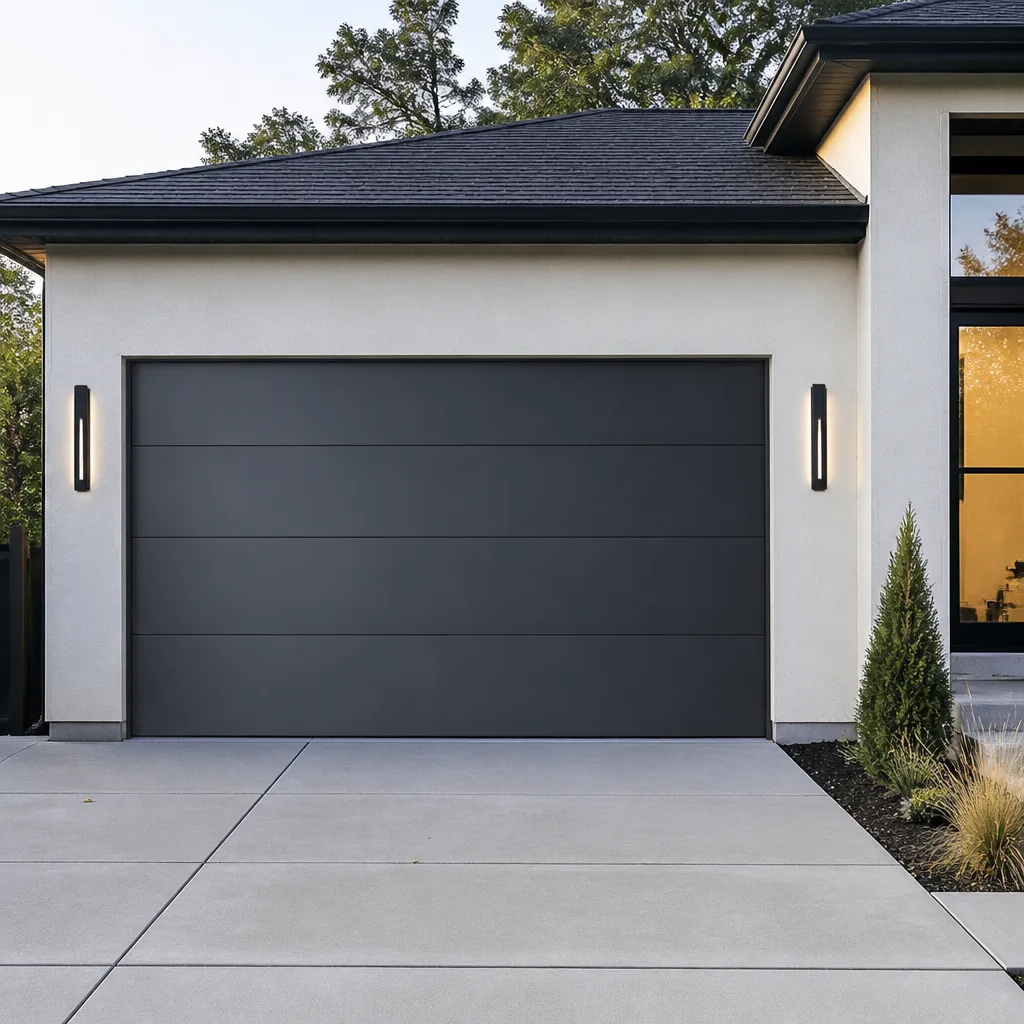 Modern flush
 Full-view glass
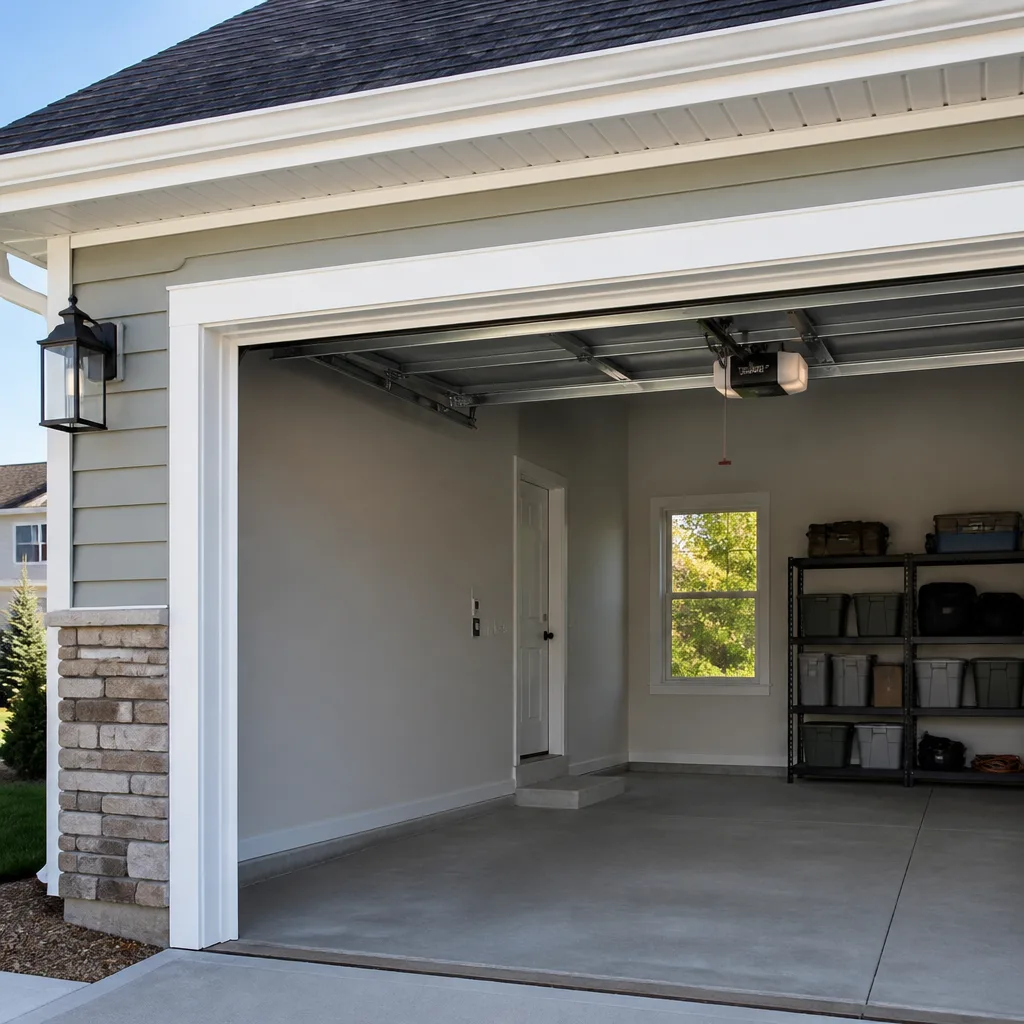 LiftMaster openers
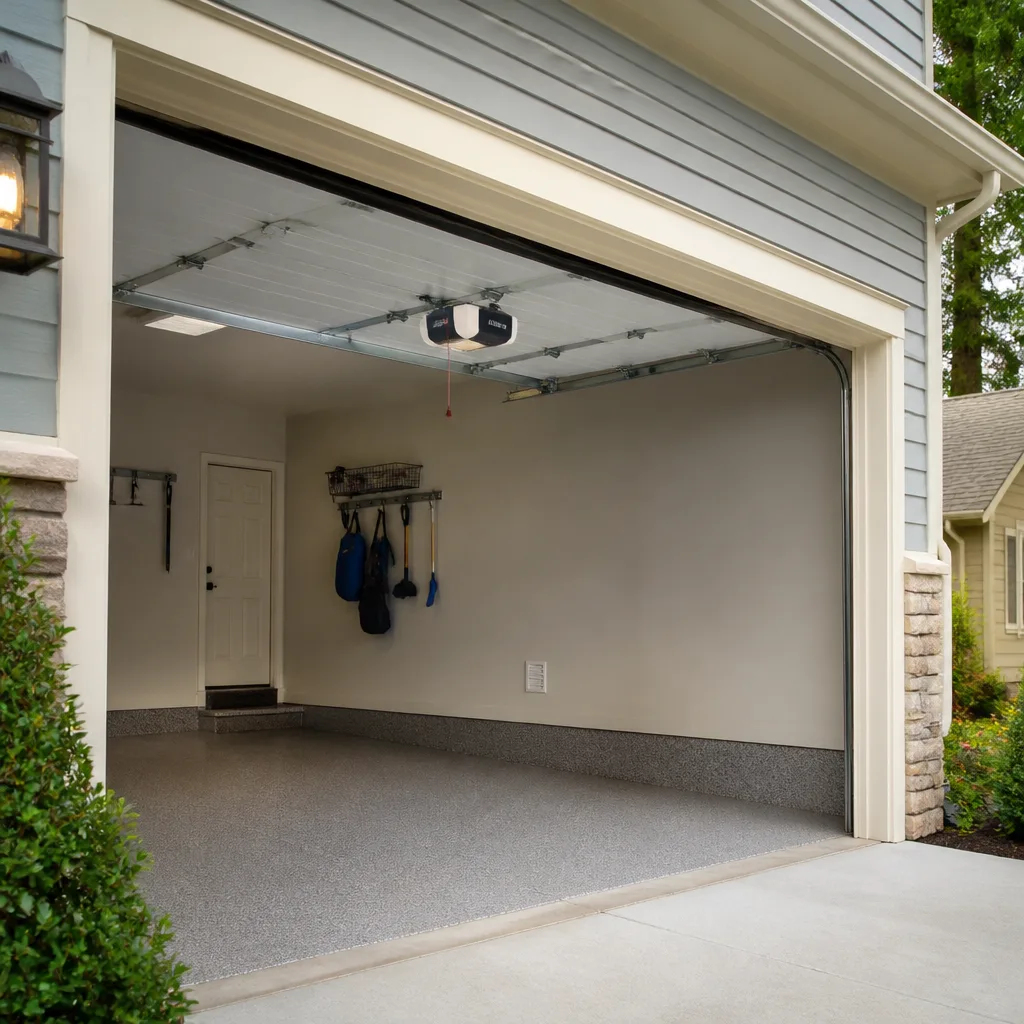 Chamberlain openers
Full 25-point door and opener safety check with every visit - springs, cables, rollers, tracks, and your LiftMaster or Chamberlain opener included
You get a price before we start. It does not change when the pro arrives.
Get your free estimateGarage Door Warning Signs: A San Mateo Homeowner’s Reference Guide
A garage door that hesitates for half a second before it moves is telling you something. Most homeowners assume it’s just the weather, or a cold morning, and ignore it for a year until the opener burns out its drive gear trying to compensate for a spring that’s lost a third of its tension. That half-second pause was the warning. The burned-out gear is the invoice.
The failures that cost the most are almost never the ones that announce themselves. They’re the quiet ones: a cable that’s started to fray in one spot, a roller that’s gone out of round, a bracket with a stress crack you’d have to look for to see. This guide covers how to read those early indicators in San Mateo, separately from the noise and the obvious breakage.
Styles & brands we work with
- Raised-panel steel
- Carriage house
- Modern flush
- Full-view glass
- LiftMaster openers
- Chamberlain openers
Quick Answer
The warning signs worth acting on in a San Mateo garage door are the subtle ones: a door that pauses before moving, a grinding or popping sound that repeats in the same spot, a cable with frayed strands near the drum, rollers with flat spots, and a door that reverses unexpectedly. Any of these means a component is wearing under load and should be checked before it fails. Visual cues usually show up three to six months before a part gives out, which is the window you want to catch.
Table of Contents
- The Signs Homeowners Rationalize Away
- Noise Taxonomy: What Each Sound Actually Means
- Visual Inspection Points That Predict Failure
- Opener Strain vs. Door Problems: Two Different Failure Trees
- Why a Reversing Door Needs Same-Week Attention
- How Different Opener Brands Signal Failure
- What San Mateo Homes Specifically Deal With
- Common Mistakes to Avoid
- When to Call a Professional
- Frequently Asked Questions
The Signs Homeowners Rationalize Away
Some warning signs get noticed immediately. A snapped spring, a door hanging crooked, a panel caved in after the car nudged it. Those don’t need a guide. The ones that matter here are the signals that arrive quietly and get explained away for months.
Here’s the pattern we’ve seen on San Mateo doors. A homeowner hears a small pop two or three times a week. It’s the torsion spring, and one coil has begun to fatigue. The door still opens. So the sound gets filed under “old door noise” and life continues. Six months later the spring lets go and the door won’t lift at all, and by then the opener has been straining for hundreds of cycles.
The subtle signals worth writing down:
- A half-second hesitation before the door moves. The motor is meeting more resistance than it expects, so it’s working through a torque curve that’s drifted from where it started.
- A slight lurch or jerk when the door starts down. The door is not tracking evenly, which usually points to a roller or a hinge problem rather than the opener.
- A door that sits a little uneven at the bottom, by an inch or two. Cable tension is drifting on one side. That’s an early symptom, not a cosmetic one.
- A sound that repeats in the same position on every cycle. Intermittent noise is wear. Noise at one fixed point is a mechanical defect developing at that spot.
- A door that seems louder this year than last. Grease dries out, rollers harden, and the whole system gets noisier as the parts age together.
The reason these get ignored isn’t laziness. It’s that a garage door is a background object. It works fifty times a week, mostly while you’re walking away from it. The trick is to actually stand and listen to it once a month. That ten-second habit catches more problems than any inspection.
Noise Taxonomy: What Each Sound Actually Means
Lumping every sound into “the door is noisy” is where most diagnosis goes wrong. Each noise comes from a specific mechanism, and knowing which one is failing tells you how urgent the problem is. Here’s how to sort them.
Grinding
Grinding is metal on metal. On a torsion system it usually comes from a bearing plate that’s lost its lubrication or a torsion tube rubbing against a worn center bearing. On an extension-spring system it’s often the cable running over a pulley that’s seized. Grinding that gets progressively louder over weeks means the wear is accelerating, and a seized bearing can score the torsion tube badly enough that the tube itself needs replacement.
Popping
A single loud pop at the start of a cycle is usually a spring coil shifting. A series of pops is a sign of a spring that’s fatigued at one section. Popping from the top of the door, near the header, can also mean a hinge has pulled loose from the panel and the metal is shifting. Popping is the one noise on this list that deserves a call sooner rather than later, because spring failures are the failures that can be dangerous.
Squealing
Squealing is usually a roller with a dry bearing or a hinge pin that’s lost lubrication. It’s the least urgent noise in this taxonomy, and the easiest to resolve, because it typically means nylon rollers have gone hard or steel rollers need grease. Left alone, a squealing roller will eventually seize and start dragging against the track, which puts side load on the opener.
Rattling
Rattling is loose hardware. Bolts backing out of the hinges, a track bracket that’s separated from the jamb, a strut that’s no longer tight against the panel. Rattling is usually the easiest to fix but the most important to catch, because a loose bracket means the door body is shifting on every cycle, and that movement eventually cracks the panel it’s attached to.
If the noise is a rumble that seems to come from the opener itself and not the door, that’s a different problem entirely, and it points to a gear or bearing failure inside the unit. We cover garage door opener repair separately, because the diagnosis and the fix are both internal to the motor housing.
Visual Inspection Points That Predict Failure
You don’t need to be a technician to run a visual check, and the things you’re looking for aren’t hidden. Here’s the walk-around we suggest for a San Mateo door, done with the door closed and the opener disconnected so nothing moves while you’re looking at it.
- Cables. Look at the cable runs on both sides, especially where the cable winds onto the drum at the top of the door. A healthy cable is a smooth, unbroken set of strands. Fraying shows as individual wires separating from the bundle, often at the drum end where the cable bends tightest. If you see even a few separated strands, that’s a cable nearing the end of its service life.
- Rollers. Rollers should be round and should turn freely in their stems. A roller with a flat spot, or one that wobbles, will drag on the track on every cycle. Nylon rollers develop visible flat spots. Steel rollers show wear ridges. Either one means the door isn’t rolling smoothly and the opener is absorbing the friction.
- Hinges and brackets. Run a finger along each hinge at the panel joints and each bracket at the track. You’re feeling for cracks. Stress cracks usually start at the bolt hole and radiate outward. A bracket with a hairline crack is a bracket that’s about to fail, and a failed bottom bracket on a torsion door can release cable tension suddenly.
- Springs. A torsion spring should have an even, continuous coil from end to end. Gaps in the coil, rust at one point along the wind, or a visible dark line where two coils have met are all signs of fatigue.
- Panels. Stand back and look at the door edge-on from the side. Panels should be aligned. A door that’s bowed at the middle or slightly out of alignment at the top is being pulled unevenly.
- Track. Look down the length of each track from the top. The track should be straight. Dents, kinks, or a track that’s separated from the jamb means the door has been tracking against it instead of rolling inside it.
Any of those findings is a signal to get eyes on the door from someone who works on them. Frayed cables and springs under tension are genuinely dangerous to handle, and we’d rather a homeowner spot them and stop than try to fix them.
Opener Strain vs. Door Problems: Two Different Failure Trees
This is the distinction that gets conflated most often, and getting it wrong means paying for the wrong repair. The symptoms look similar from the driver’s seat. The root causes are on different sides of the same system, and treating one as the other wastes money.
The door-side failure tree
Door problems begin in the mechanical half of the system: springs, cables, rollers, hinges, track. The opener is doing its job. It’s just getting more resistance than it’s designed for. Symptoms of a door-side problem:
- The door moves slowly and sounds strained, but the opener motor itself sounds normal
- The door stops or pauses at the same spot on every cycle
- The door goes up crooked or comes down at an angle
- The door feels heavy when you lift it by hand with the opener disconnected
- The manual release makes the door easier but doesn’t fix the problem
The opener-side failure tree
Opener problems begin inside the motor housing or its electronics. The door is fine. The unit driving it isn’t. Symptoms of an opener-side problem:
- The door won’t move at all, but the opener motor hums or clicks
- The opener seems to lose its travel limits, so the door stops short or reverses mid-travel
- Remote controls work inconsistently, or one remote works and another doesn’t
- The opener runs in short bursts and shuts itself off
- The door reverses immediately after hitting the floor
- Error codes or blinking lights on the opener’s logic board
The two overlap in the middle, and that’s where the honest diagnosis lives. An opener that’s been fighting a marginal spring for a year will eventually show opener symptoms, because the drive gear gets worn. If we replace the gear without addressing the spring, the new gear goes the same way. That’s why any skilled technician will check the door’s resistance before deciding garage door repair is really the answer, or whether the opener is the thing that needs replacing.
Our technicians have up to 11 years of experience sorting those two failure trees on both sides of this equation, which means we’re not guessing when we tell you which one is the problem.
Why a Reversing Door Needs Same-Week Attention
A door that reverses unexpectedly is a safety sensor issue, and it needs to be addressed this week, not watched for a month. The reasons are practical. The reversing mechanism on a modern opener is the primary safety feature, and it exists to stop the door from closing on a person or a pet.
Here’s what the reversing behavior actually tells you:
Reverses immediately on the way down, doesn’t reach or touch the floor
The safety sensors at the door’s base are either out of alignment, blocked, or one of them has failed. The sensor beam is interrupting short of the floor, so the logic board reads an obstruction and reverses. This is common when a sensor bracket gets bumped, or when sunlight hits the receiving sensor at a particular angle on a bright San Mateo morning.
Reverses after touching the floor, “bounces” back up
The travel limits have drifted, or the force setting on the close cycle has become too sensitive. The door hits the floor, senses resistance, and reverses. This one is almost always an adjustment rather than a part failure, and it’s a setting change, not a repair.
Reverses partway up or partway down, no pattern
This is typically a limit-travel failure, a logic board fault, or a wire connection that’s intermittent. It’s the most unpredictable version, and the one that most deserves a technician’s look, because diagnosing an intermittent fault requires testing the actual unit rather than watching what happens on one cycle.
A reversing door on a LiftMaster or a Chamberlain unit will usually give a specific blink code on the logic board that points to the exact cause. That’s why opener-specific knowledge matters here. A code reader will tell you what the board thinks is wrong, and a tech who’s worked on that brand will know how to read the signal correctly the first time.
How Different Opener Brands Signal Failure
Openers from different manufacturers warn you in different ways. The failsafe is the same across all of them, since the modern safety reversal standard is universal, but the way each unit telegraphs a pending failure varies. Knowing what your unit is doing helps you describe the problem accurately when you call.
LiftMaster and Chamberlain
These two are siblings under the same corporate parent, and their diagnostic behavior is nearly identical. Both use a numbered blink sequence on the logic board to indicate what’s wrong. A repeating sequence of blinks, with a pause between codes, is the unit naming a specific fault. The number of blinks is the error code. If your LiftMaster or Chamberlain unit is blinking a steady pattern rather than a single blink, write the number down. That’s the most direct diagnostic information the machine will ever give you, and it saves a service call by pointing the technician straight at the component.
Genie
Genie units tend to communicate failures through behavior rather than blink codes. A Genie with a failing capacitor or a worn drive will often still respond to the remote but move in a slow, labored way. Genie units also do a particularly specific thing when the safety sensors lose alignment: they’ll light the sensor LEDs but reverse the door only after it’s fully down, so it looks like the door closes before it reopens. If your Genie does that, it’s a sensor alignment issue, not a door problem.
Craftsman and older legacy units
Older Craftsman units, and other legacy openers from the same era, often have no diagnostic blink codes at all. They fail quietly. The warning is usually a slow degradation in speed or a unit that suddenly needs a second remote push to start. The technicians we dispatch handle a lot of these older systems, and a unit from that era approaching twenty years old is going to be at the end of its service life in most cases.
Door brand and panel signals
The door body itself, whether it’s a Clopay, an Amarr, or a Wayne Dalton, gives you signals too. Panel separation, bowing at the middle, or a bottom section that’s developed a sag are signs that either the door structure is slowly failing or the toggle holding it is under tension. Those warnings don’t come from the opener. They come from the door being looked at edge-on with a careful eye, which is why the visual inspection points above matter.
What San Mateo Homes Specifically Deal With
Garage doors age differently depending on the local environment, and San Mateo’s environment shapes the way these systems wear. Two things stand out for this city.
First, the mild climate here means doors don’t cycle through the huge temperature swings that colder regions get. That’s good for the door body, because it doesn’t go through as much thermal expansion and contraction. But it’s also a reason problems stay subtle for longer. In colder climates, a failing spring makes itself known as the temperature drops. Here, a spring can be failing quietly all year because it never gets that cold-snap test that reveals a weak point.
Second, older housing stock in San Mateo neighborhoods like Baywood and San Mateo Park often has garage doors and openers that were installed with the home and haven’t been addressed since. That’s fine if the door’s been maintained, but a Craftsman opener from the 1990s still opening the same door it was installed with is a unit that’s already lived a long service life. A homeowner in those neighborhoods will often find that some of the “warning signs” on this list are already present and have been for years.
The other piece is that many San Mateo homes have an attached garage that holds heat. A garage that runs warmer than the outside air puts more thermal cycling on the door and opener. Doors on the western and southern faces of the house, where afternoon sun hits the panel, will show more panel fade, more heat-related warping, and more strain on the bottom seal. That’s not a failure indicator by itself, but it’s a reason to look at the door’s lower section more carefully than the top.
Common Mistakes to Avoid
- Waiting for the door to stop working before acting. A door that works ninety-eight percent of the time looks like a working door, but the two percent is the warning. A symptom caught early usually means a part swap rather than a full door or opener replacement.
- Treating opener failures as door failures, or the reverse. If you replace the opener when the spring was the problem, the new opener strains the same way the old one did. If you replace the spring when the opener’s drive gear was the issue, you’ve paid for a spring that was fine. Get the diagnosis on the right side of the equation first.
- Spraying WD-40 on the springs. This is one of the most common DIY moves and it makes the problem worse. WD-40 is a solvent, not a lubricant, and it strips the proper grease from the torsion tube. Use a proper garage door lubricant on the hinges and rollers only; leave the springs alone and let a technician handle them.
- Ignoring a single pop and waiting for the door to break. A pop in a spring is a warning. A spring failure while the door is in motion is a different situation, and it can be hazardous. If you hear a pop, stop using the door and get eyes on the spring before the next cycle.
- Adjusting the safety sensor alignment yourself without checking the reversing test. Sensors can look aligned and still fail. The test is to place an object in the door’s path and confirm the door reverses. If it doesn’t, the sensors need more than a nudge.
- Assuming a door that seems loud is “just an old door.” Noise is diagnostic. Deferred noise usually becomes a seized roller, then a scored track, then a burnt-out opener. The dollar difference between fixing noise early and replacing what it damaged later is substantial.
- Calling a general handyman for a spring or opener problem. Garage doors are a narrow trade. A generalist will often be guessing at which part is failing, and they don’t have the brand-specific knowledge to read the diagnostic codes on a LiftMaster, a Chamberlain, or a Genie.
When to Call a Professional
Some of the checks in this guide are things any homeowner can do, and we’d rather you did those yourself. A visual walk-around with the door closed and disconnected is safe. Listening to the door on its next cycle is safe. Checking the reversing function with a board in the door’s path is safe.
Where it stops being a DIY job is anything involving tension. Torsion springs, extension springs, cables under load, and bottom brackets are all components that can release stored energy suddenly and cause serious injury. If your visual inspection shows frayed cable strands, a spring with visible gaps or rust, or a bracket with a crack, stop using the door and call us. The same goes for a door that’s come off its track, and any opener that’s smoking or buzzing without moving.
For everything else, the best move is to book a technician who can put eyes on the door and tell you whether it’s a repair or a replacement. Quarry Garage Door Repair offers free estimates in San Mateo, and we work on whichever brand is already on your door. Call (877) 373-8927. We answer 24/7, and we run fast dispatch from 7am to 7pm, Sunday through Friday.
Frequently Asked Questions
The distinction comes down to whether the problem involves stored mechanical energy. A squealing roller, a rattling hinge, and a door that reverses on the way down are usually fixable without urgency. A frayed cable, a spring with visible gaps or rust, a bracket under tension, or a door that has come off its track are all situations to address immediately because they involve components that can fail suddenly under load. When in doubt, call for a free estimate rather than running the door to test it.
You can fix the mild version of it. A lubricated hinge pin and properly seated rollers will make a door quieter without much risk. What you shouldn’t do yourself is adjust the spring tension, lubricate the springs, or attempt to tighten a bracket that’s under load. If the noise is coming from the spring, the torsion tube, or the opener’s internal gears, that needs a technician who can tell which one is actually the source.
A hesitation before opening usually means the opener is meeting more resistance than its travel settings expect. In San Mateo’s mild climate the starting resistance is rarely temperature-related, so the more likely cause is a spring that’s lost some tension, a roller with a flat spot, or a hinge that’s stiff. It can also be an opener travel-limit setting that’s drifted. Checking the door by hand with the opener disconnected will tell you which side of the system is the problem, and a technician can confirm it on-site.
Once a year is a reasonable baseline for a door that gets used daily, and a visual walk-around once a month catches most of the early warnings on this list. The annual check matters more for doors over a certain age, or for a home where the door hasn’t been serviced since it was installed. The inspection is quick and the goal is to catch wear while it’s still just wear, before it becomes a repair.
A door reversing on its own is a safety sensor fault and needs attention this week. The most common cause is misaligned photo-eye sensors at the base of the door, where a bumped bracket or direct sunlight on the receiving sensor interrupts the beam. Less commonly it’s a travel-limit setting that’s drifted or a logic board fault. The fact that the door reverses is a sign the safety feature is working, but the underlying cause needs fixing because a reversing door isn’t a door you want to rely on closing.
We work on the major brands that are actually on San Mateo garage doors, including LiftMaster, Chamberlain, Genie, Clopay, Amarr, Wayne Dalton, Craftsman, and Raynor. Our focus is garage doors exclusively, which means we see these brands often enough to recognize their specific warning signs and read their diagnostic codes correctly, rather than guessing at what a particular unit is telling us. Whether it’s a LiftMaster opener or a Clopay panel, the aim is a correct diagnosis on the first visit.
The Bottom Line
The failures that cost the most are the ones you can’t hear from the kitchen. A half-second hesitation, a sound that repeats in one spot, a cable with a few separated strands, a roller with a flat spot: those are the signals that matter, and they usually arrive three to six months before a real failure. Catch them at that stage and most are a repair rather than a replacement.
Know which side of the system is failing. The door and the opener have different failure trees, and confusing them costs money. When you’re not sure, stop, leave the tension alone, and get a professional to look. If you’re in San Mateo and want eyes on your door, call (877) 373-8927 for a free estimate. We answer 24/7, and our week runs Sunday through Friday with fast dispatch from 7am to 7pm. We’re closed Saturday.
Written by the team at Quarry Garage Door Repair.
See the difference
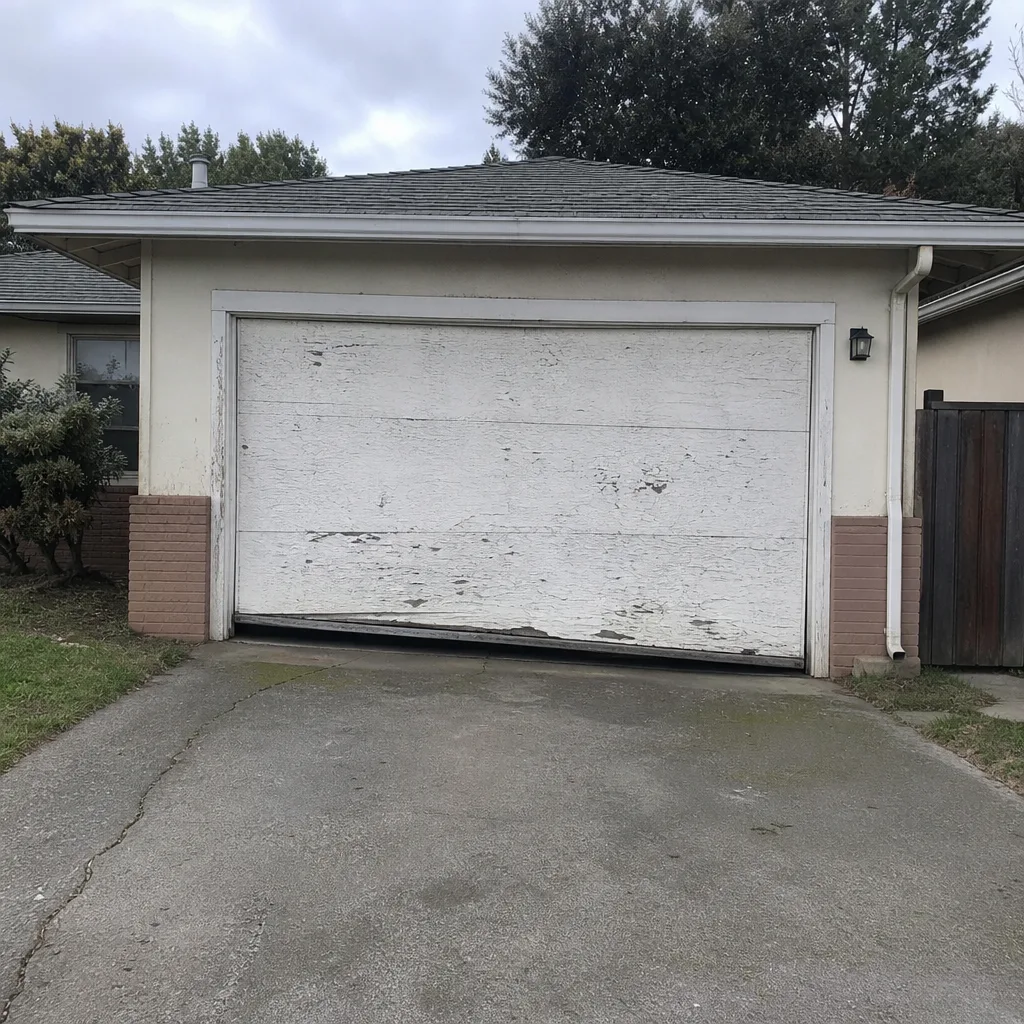 Before
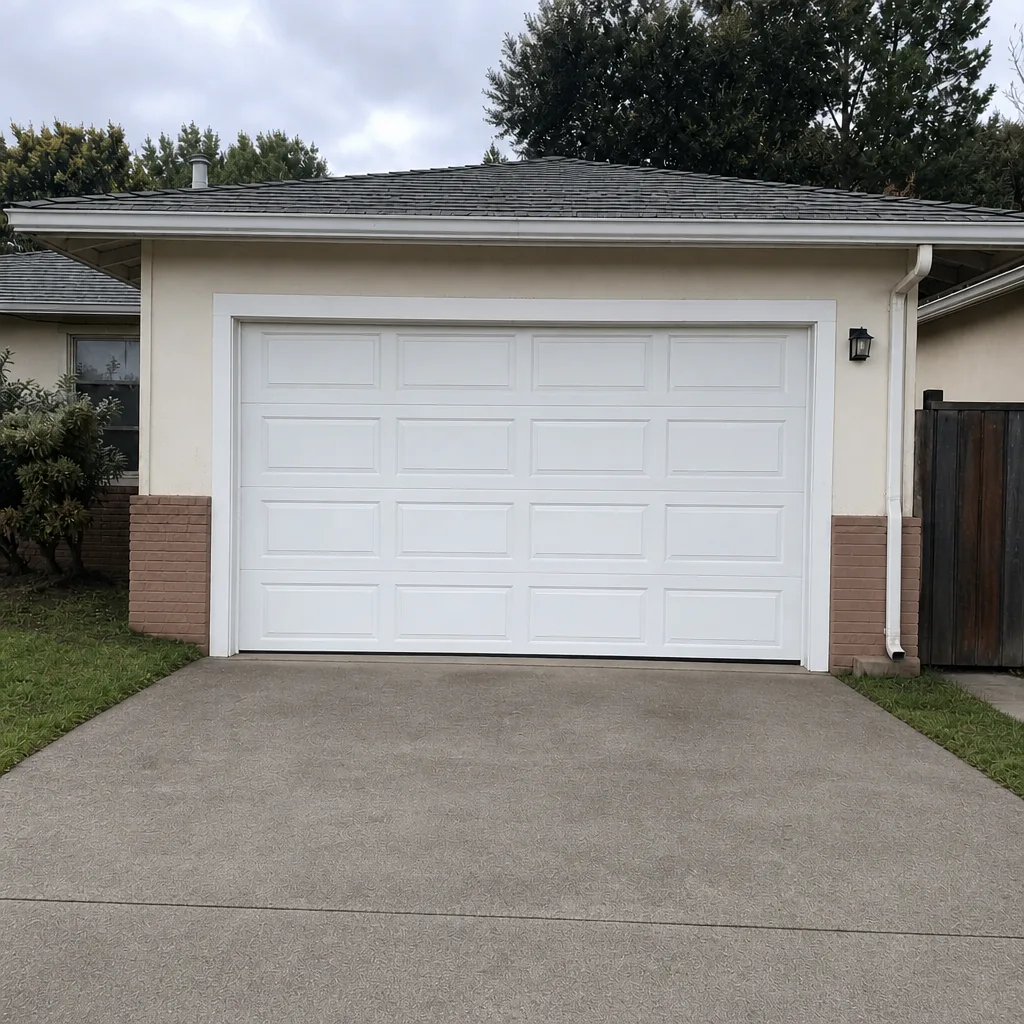 After
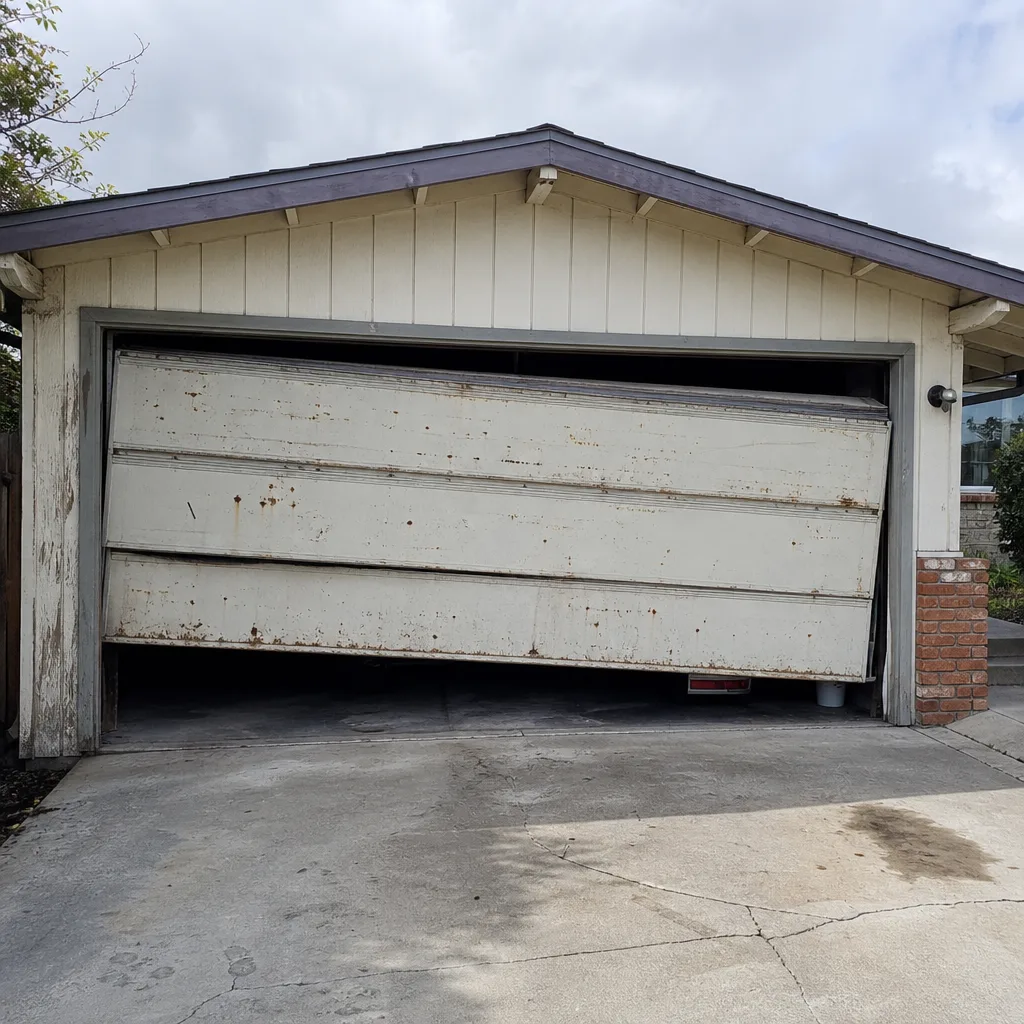 Before
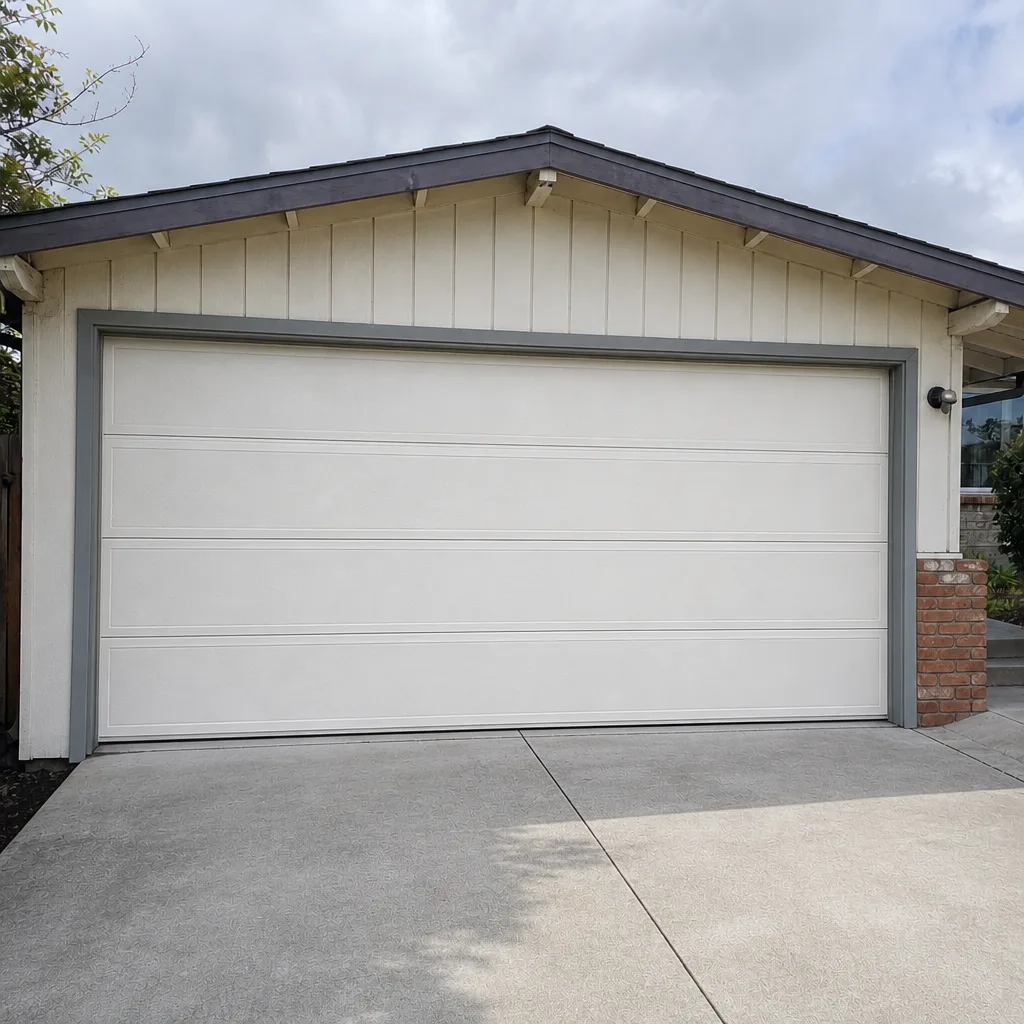 After
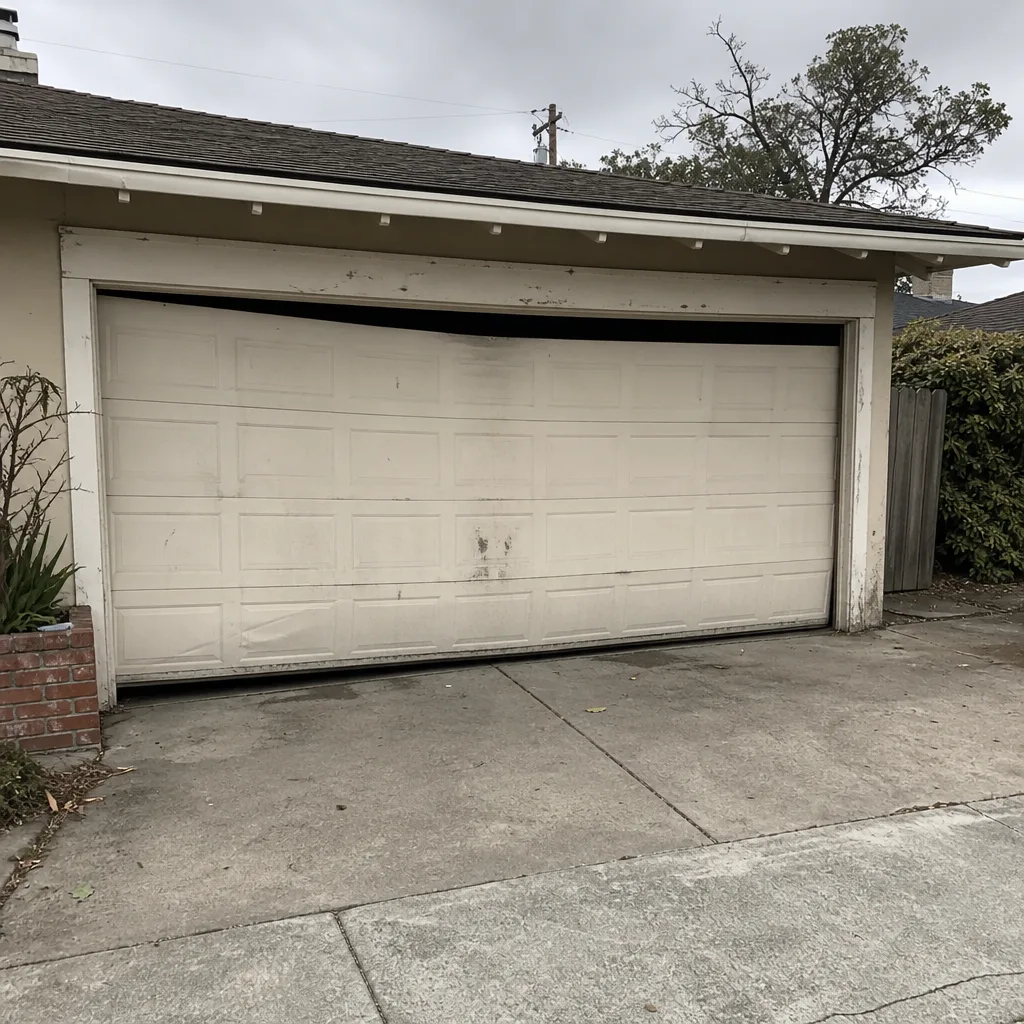 Before
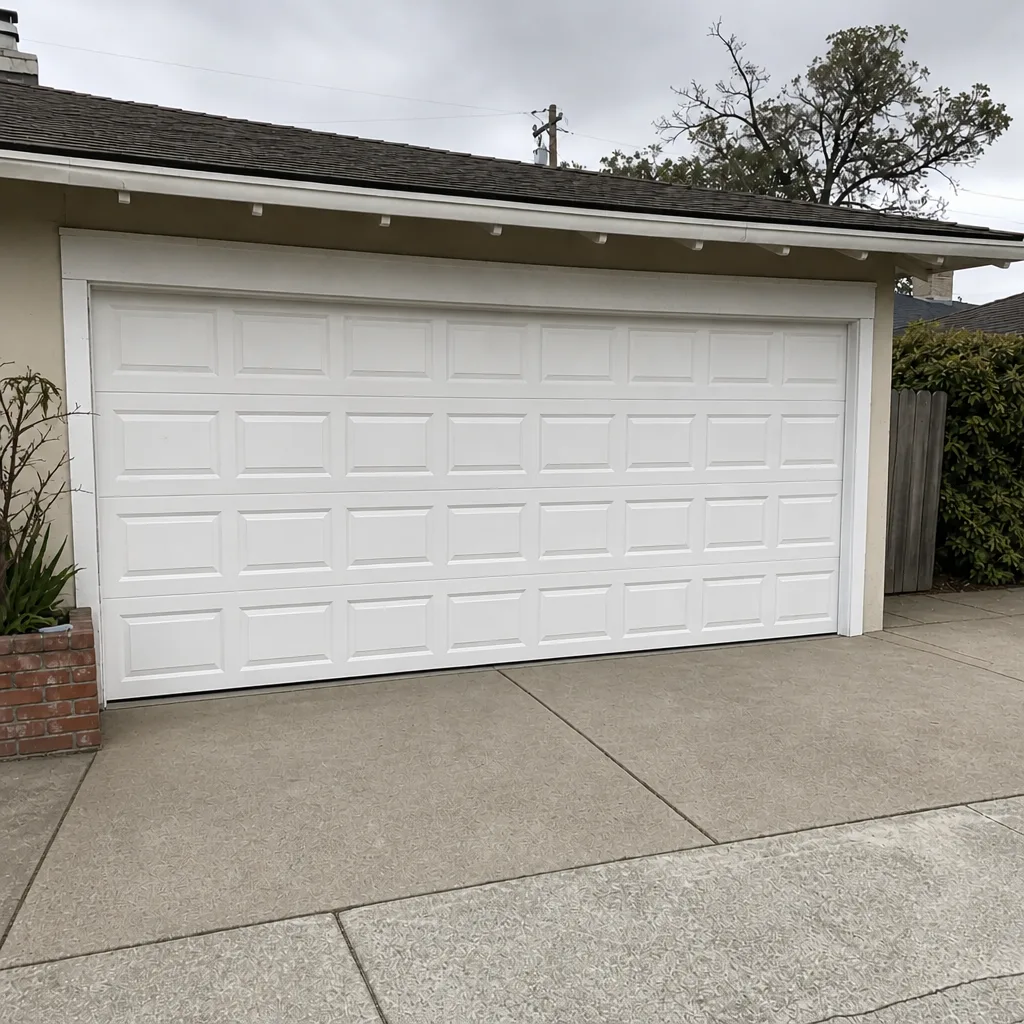 After