
Last updated November 15, 2026
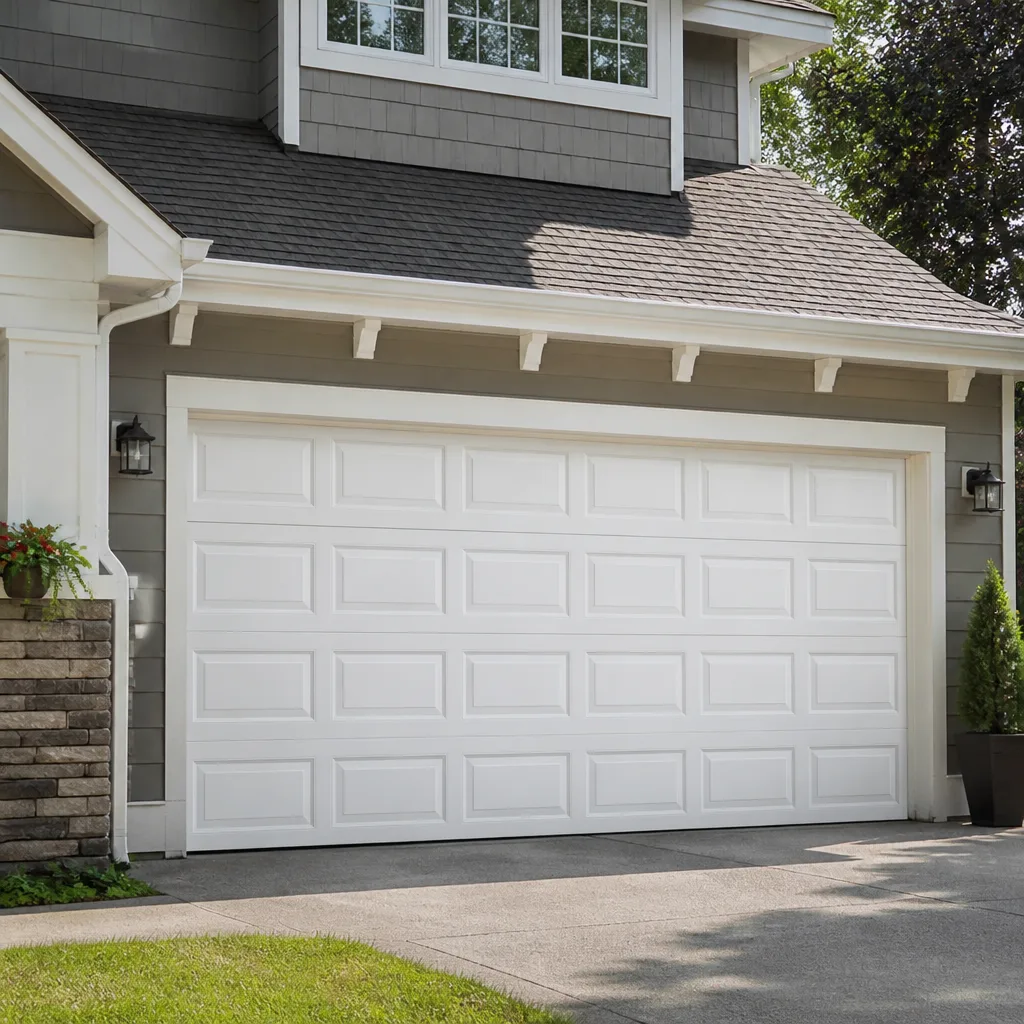 Raised-panel steel
 Carriage house
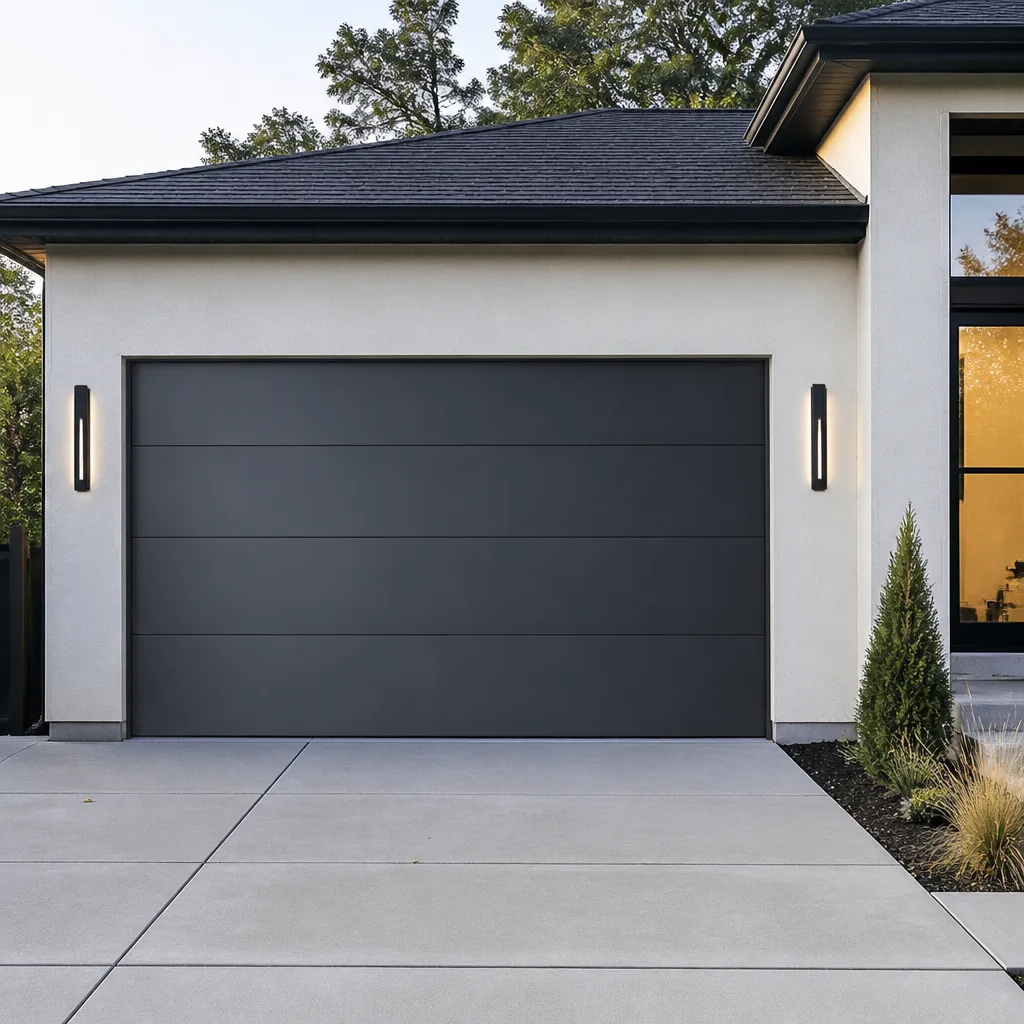 Modern flush
 Full-view glass
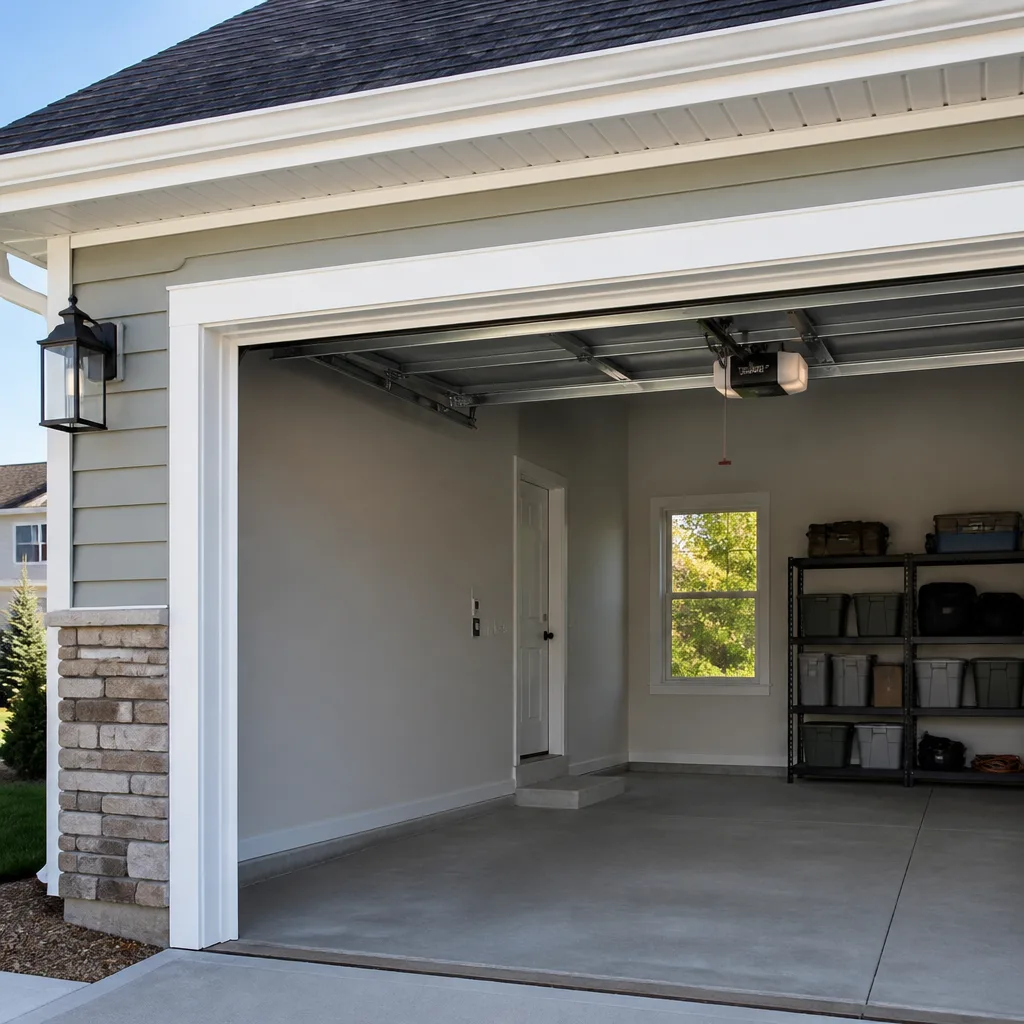 LiftMaster openers
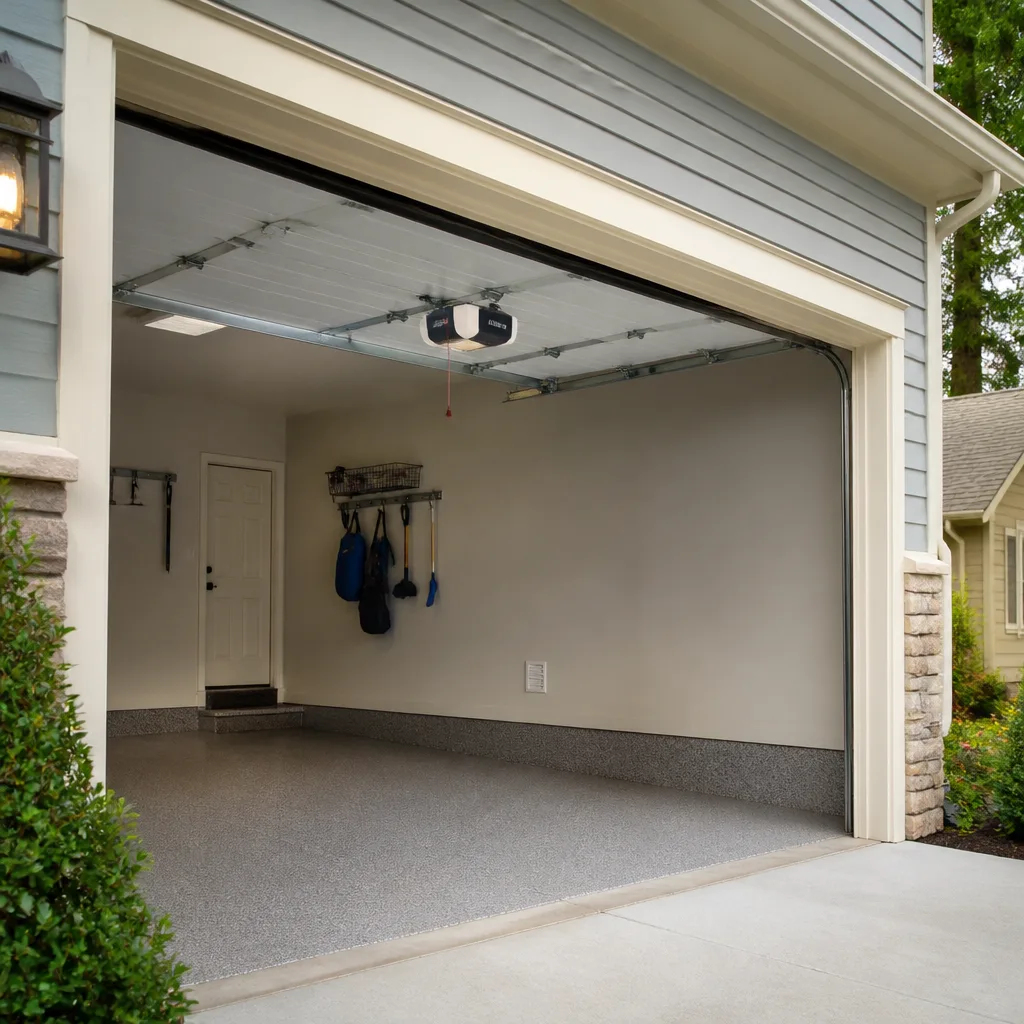 Chamberlain openers
Full 25-point door and opener safety check with every visit - springs, cables, rollers, tracks, and your LiftMaster or Chamberlain opener included
You get a price before we start. It does not change when the pro arrives.
Get your free estimateGarage Door Repair Maintenance Checklist for San Mateo Homeowners
Most San Mateo homeowners assume their garage door wears out from heavy use. It usually doesn’t. The single biggest cause of premature spring failure in San Mateo garages is surface corrosion driven by condensation cycles, the damp-dry rhythm that comes with mild winters and cool, fog-heavy summers, and most people never spot it until a torsion spring snaps under full load. A checklist written for a hot, dry climate won’t help you here. This guide gives you one calibrated to how doors actually age in San Mateo: which parts corrode first, how to lubricate for grit and moisture instead of dust, how to test the safety reverse on the openers you actually see in local homes, and where a DIY check should stop and a trained technician should start.
Quick Answer
A garage door maintenance checklist for San Mateo should focus on monthly visual checks of corrosion-prone parts (springs, cables, hinges, rollers, bottom brackets), a lubrication schedule matched to component type with products that resist grit, and quarterly safety tests of the auto-reverse and force settings on your opener. Doors in San Mateo age differently from inland doors because repeated condensation cycles wear metal parts before heavy use does. Anything involving torsion springs, high-tension cables, or opener electronics belongs with a technician.
Styles & brands we work with
- Raised-panel steel
- Carriage house
- Modern flush
- Full-view glass
- LiftMaster openers
- Chamberlain openers
Table of Contents
- Why San Mateo Garage Doors Wear Differently
- Monthly Visual Checks for Corrosion-Prone Parts
- Lubrication Schedule by Component Type
- How to Test Auto-Reverse and Force Settings
- Spotting Failing Weatherstripping in Damp-Dry Cycles
- What a DIY Checklist Catches vs. What Needs a Technician
- A Year-Round Maintenance Calendar for San Mateo
- When Maintenance Turns Into Repair or Replacement
Why San Mateo Garage Doors Wear Differently
San Mateo sits in a band of the Peninsula where the marine layer rolls in most evenings and burns off by mid-morning through much of the year. That daily moisture cycle matters more to a garage door than most people realize. Every time warm afternoon air meets cooler metal in the evening, a thin film of condensation forms on the door’s hardware. By morning it’s gone. Repeat that cycle hundreds of times and unprotected steel starts to pit.
Torsion springs are the most vulnerable part. They’re made of tightly wound high-tension steel wire that spends its life under load, and pitting on the wire surface creates stress risers that shorten a spring’s working life. We see this pattern often in San Mateo garages that show no obvious signs of neglect. The door runs fine, then a spring gives out. The corrosion was working quietly for a long time.
Homes in neighborhoods like Hayward Park, Baywood, and San Mateo Park tend to have the mid-century two-car garages where this wear pattern shows up most. Those doors were often built with standard torsion systems, and if the hardware is original, it’s likely been through many damp-dry cycles. Homes up on the higher ground toward Laurelwood, where fog lingers longer, tend to see the fastest surface corrosion on hinges and bottom brackets (the plates that anchor the bottom of each cable), because those parts sit closest to the concrete slab where moisture collects.
Cool summers also shift when the failure happens. In hotter climates, springs tend to fail during heat waves when the metal expands. Here, they often fail on the first cool morning after a stretch of warm days. That’s a general wear pattern, not a prediction for your particular door, but it’s why we recommend spring checks every month rather than once a season.
What the Local Climate Doesn’t Do
You won’t be dealing with freeze-thaw cycling, snow load on the panels, or rust from road salt tracked in on the car. This is a mild-winter climate, which is why San Mateo garage doors don’t face the “spring replacement every five years” problem you’ll read about in cold-climate guides. Instead, the challenge is slow moisture wear on hardware. If a guide you’ve found online talks mostly about ice, snow, and freezing temperatures, it was written for somewhere else. Skip those sections.
Monthly Visual Checks for Corrosion-Prone Parts
A monthly walkaround takes about five minutes. No tools required beyond a flashlight. Do this from the floor with the door closed, and never reach into the track or near the springs while the door is moving.
- Torsion springs (mounted above the door). Look for orange or brown staining on the coils. Staining is the first sign of surface corrosion. Also check for visible gaps between coils; small gaps are normal, but a growing gap suggests the spring is losing tension.
- Extension springs (mounted beside the tracks, if you have them). Look for paint lifting or hairline cracks near the loops at each end. Those are the spots where failure usually starts.
- Cables. Check for fraying, kinks, or a fuzzy appearance. Cables are under high tension. If one looks damaged, don’t touch it. Shut the door and call a technician.
- Hinges. Look at the metal plates where the door sections join. Rust starting at the hinge seams is common in San Mateo garages.
- Rollers. Roll in the track, greasy or dry, cracked edge? Steel rollers tend to rust, and nylon rollers crack. Both need attention.
- Bottom brackets. These sit low, near the concrete, and take the most moisture. Check for rust and for loose bolts.
- Track surface. Run a hand along the inside of each track (with the door closed and the opener disconnected). You’re feeling for grit, dents, or anything stuck to the surface.
- Lift cables and drums. Look at the drum at the end of the torsion shaft. The cable should wind cleanly, with no overlapping or fraying.
Log what you find. A photo taken on your phone each month gives you a comparison point. A small stain that stays the same for six months is different from one that spreads. If you notice that the staining on the springs is growing, that’s a good time to have a technician look before the spring causes a bigger problem.
Lubrication Schedule by Component Type
Lubrication is where most garage door maintenance advice goes wrong. The advice you see most often is to spray everything with the same general-purpose oil, but that’s the wrong move for a San Mateo door. Oil attracts dust and grit, and grit in a coastal Bay Area garage is everywhere. That combination is worse than leaving the part dry.
What to Use, by Part
- Torsion springs and extension springs: a lithium grease or a silicone-based spray. Use it sparingly, once every six months. The goal is a thin, dry-feeling film that resists moisture without accumulating grit. Heavier grease on springs attracts dust.
- Hinges and pivot points: a light white lithium grease. One small dab per hinge, twice a year, wiped flush.
- Rollers: nylon rollers need only a few drops of silicone spray on the stem (the axle) twice a year, not on the roller face. Steel rollers need a very light silicone spray on the stem.
- Tracks: nothing. Do not lubricate the tracks. They should be clean and dry. A rag and a little silicone spray applied to the rag, then wiped along the track, is fine for cleaning, but never leave residue.
- Opener chain or belt: a chain gets a light chain-specific oil annually, applied with a rag under the sprocket to catch drips. Belt drives generally need no lubrication; check the manual for your specific opener before applying anything.
- Weatherstripping (bottom seal and side seals): a thin coat of silicone spray (not grease) once a year keeps the rubber flexible through damp-dry cycles.
What to Avoid
Don’t use WD-40 as a general lubricant. It’s a water-displacing penetrant, useful for freeing a rusted bolt but not for ongoing lubrication: it evaporates quickly and can attract dust. Don’t use motor oil on anything; it drips, stains the garage floor, and turns into a grit trap. And don’t spray anything near the photo-eye sensors on the opener or the opener’s electronics housing.
Schedule
- Every three months: silicone spray on roller stems and a light wipe of the tracks with a silicone-treated rag.
- Every six months: lithium grease on springs and hinges.
- Annually: chain lubrication (chain drives only), silicone spray on weatherstripping, and an inspection of all moving parts for corrosion.
- Before any unusual weather: if you’re heading out of town for a stretch of weeks and the garage will sit closed, do a quick visual on the springs and cables before you go.
The schedule is a starting point. If you notice during a monthly check that grease is turning dark or collecting grit faster than expected, adjust the frequency. San Mateo’s damp-dry pattern can push hardware past the standard twelve-month interval, so inspect during the wetter months and confirm the parts look healthy.
How to Test Auto-Reverse and Force Settings
Your opener’s safety reverse and force settings are the two most important safety systems in the garage. If the door contacts something on the way down, the opener should reverse direction. If the force setting is too high, the door can push through an object or an arm before it notices. These tests are easy, and you can do them safely.
The most common opener families in San Mateo homes are LiftMaster, Chamberlain, Genie, and Craftsman. The controls are on the back or side of the opener motor housing, under a small cover plate or a set of labeled screws. Every model is slightly different, but the test procedure is the same.
Auto-Reverse Test (Monthly)
- Stand on a step stool or a sturdy chair so you can reach the bottom edge of the door.
- Press the wall control to close the door, then hold a 2×4 board flat on the floor in the door’s path.
- As the door comes down and contacts the board, it should reverse direction within a second or two.
- If the door stops on the board without reversing, the force setting is too high or the auto-reverse is disabled. Adjust and retest, or call a technician if you’re not sure which.
Photo-Eye Test (Monthly)
- With the door fully open, wave your foot or a broom across the path of the two photo-eye sensors mounted near the floor on each side of the door.
- When the beam is broken, the door should refuse to close from any remote or wall control.
- If it closes anyway, the sensors aren’t working. Wipe the lenses and test again. If it still closes, the sensors or the wiring need service.
Force Setting vs. Brand
Force settings are adjusted differently across brands. On LiftMaster and Chamberlain openers, the force adjustment controls are usually two screws marked “open force” and “close force.” On Genie openers, it’s often a dial or a set of screws under the motor cover. On older Craftsman openers, the force settings live in the manual-adjustment section of the control panel.
Loosen the force setting in small increments and retest with the 2×4. If the door struggles to close fully or reverses on its own, you’ve gone too far. If the door still doesn’t reverse reliably when it should, do not force it. A door that fails to reverse is a safety hazard. It’s also a sign the opener is worn or the door’s balance is off, and that’s a technician’s job.
We test these settings on every repair visit because a door that’s been running for years without a force check can quietly change. A slightly out-of-balance door plus a high force setting is a recipe for a hard slam. If a diagnostic on a LiftMaster or Chamberlain system reveals an issue beyond what adjustment can resolve, we can identify the correct part in one visit rather than guessing across several.
Spotting Failing Weatherstripping in Damp-Dry Cycles
Weatherstripping fails in San Mateo differently than it does in a hot climate. Heat bakes rubber. Here, the damp-dry cycle flexes and relaxes the rubber thousands of times through the year. That repeated flex causes the rubber to harden and crack, but the crack patterns are subtle and don’t look like the obvious sun-baked crumble you’d see in a hot, dry climate.
Look for these signs:
- A gap at the bottom corners. With the door closed, look along the bottom edge where the seal meets the floor. If you can see daylight or feel air coming through, the seal is failing. The corner gaps show up first because that’s where the seal flexes most.
- Compressed or flattened rubber. Run a finger along the bottom seal. It should feel springy. If it feels flat, hard, or brittle, it’s lost its ability to seal.
- Side seal shrinkage. The vertical seals along each side of the door shrink slightly over time. If the seal pulls away from the frame by even a quarter inch, you’re getting a draft.
- Interior moisture. Look at the inside of the door on cool mornings. A small amount of condensation on the inside is normal. Standing water under the door or a persistent damp smell is not. It usually means the bottom seal isn’t sealing.
- Visible cracks or tears. Any tear longer than an inch in the bottom or side seal needs replacement.
Weatherstripping is one of the few parts of the door you can safely replace yourself with basic tools. The bottom seal slides into a track on the door’s bottom panel and pulls out through the end. Side seals attach with a few screws along the frame. If the seal is the only issue, replacing it is a straightforward job. If you find that the door frame is warped or the bottom panel has rusted through, that’s a technician’s job.
Panel and Paint Issues From Damp-Dry Cycling
Steel panels on San Mateo doors also develop a specific problem: small blisters under the paint where moisture got under a scratch or a chip. These blisters eventually lift the paint and rust through. If you spot one, sand it lightly, apply a corrosion-inhibiting primer, and reseal with a matching touch-up paint. A Clopay or Amarr panel with a manufacturer’s finish resists this longer than a bare or repainted panel, but no finish is immune. If the blisters are spreading on a lower panel (especially the bottom one, closest to the ground moisture), a replacement panel may be the better long-term move than repeated touch-ups.
What a DIY Checklist Catches vs. What Needs a Technician
A DIY checklist is genuinely useful. It catches the slow wear that a technician can’t see between visits, and it keeps you aware of your own door. But there are clear limits. Knowing where they are is the difference between catching a problem early and risking injury.
What You Can Safely Check and Handle
- Monthly visual inspections with a flashlight
- Lubrication (springs, hinges, roller stems, weatherstripping)
- Cleaning the tracks with a dry rag
- Testing the auto-reverse and photo-eye sensors
- Replacing bottom and side weatherstripping
- Resetting the opener by the wall control
- Replacing remote batteries
- Light paint touch-ups on small chips
What Requires a Technician
- Any work on torsion springs. A torsion spring under load can cause severe injury. Never attempt to unload, adjust, or replace a torsion spring yourself.
- Any work on cables or the drums. Cables hold the door’s weight under high tension. If a cable looks damaged, stop and call.
- Balance issues. If the door won’t stay at half-height when disconnected from the opener, the springs are out of balance and need an adjustment.
- Opener electronics. A LiftMaster logic board, a Chamberlain photo-eye wiring fault, a Genie travel limit that won’t hold, or a Craftsman force adjustment that doesn’t respond are all jobs for a technician with brand-specific diagnostic knowledge.
- Rollers or hinges that have seized. A seized roller is a symptom. The cause may be track damage or a bent hinge that’s hard to spot without removing parts.
- Panel replacement beyond weatherstripping. Matching a replacement panel to the existing door is easier when you know the brand. A Raynor or Wayne Dalton panel has specific manufacturer profiles, and getting the match right matters for the look and function of the door.
One more thing worth knowing: some failures aren’t visible at all until the door is under load. An opener that seems fine on a quiet test can slip when the door is moving fast. That’s a pattern a technician learns to spot across multiple visits. The best use of a DIY checklist isn’t to replace a technician visit; it’s to make that visit more productive. When you know your door’s history, a technician can diagnose it faster.
A Year-Round Maintenance Calendar for San Mateo
A calendar helps you stay consistent. San Mateo’s mild seasons mean you’re not doing heavy winter prep, but the damp-dry cycle changes which parts need attention each time you check.
Monthly (Year-Round)
- Visual walkaround with a flashlight
- Auto-reverse test on the door
- Photo-eye test
Quarterly
- Lubrication of roller stems and track cleaning
- Check weatherstripping for gaps and cracks
- Inspect panels for new blisters or rust
Every Six Months
- Lubrication of springs, hinges, and pivot points
- Full force and balance check (disconnect the opener, raise the door to half-height, let go; it should hold for a moment if the springs are balanced)
- Review the opener’s manual if any settings have changed
Annually
- Full inspection by a technician
- Chain oiling (chain drives)
- Silicone spray on weatherstripping
- Check the safety labels on the door and opener
If you notice any of these signs during your monthly check, that’s a signal to book an inspection sooner: springs that show spreading stains, a door that reverses on its own during a normal cycle, a door that hesitates at the top or bottom, a loud bang during operation, or the door stopping halfway through a cycle. Each of those is easier to fix when it’s caught early. An annual technician visit catches what the eye misses, especially inside the opener’s mechanism where wear isn’t visible from the floor.
When Maintenance Turns Into Repair or Replacement
Maintenance only goes so far. At some point every door needs a repair, and eventually a full replacement. Knowing which one you’re facing helps you avoid spending money on a door that’s already near the end.
Signs a Repair Makes Sense
- One spring has failed (or is visibly failing) and the door otherwise runs normally
- A roller or hinge is noisy but the door tracks straight
- The opener has a specific fault that’s repairable (photo-eye, travel limit, force setting)
- Weatherstripping or a single panel needs replacement
Signs Replacement Makes Sense
- Multiple panels are rusted through from the inside
- The door has been repaired several times in the past few years
- The door is not properly insulated for a room you use year-round
- The opener is a legacy system with no parts availability
- The door has structural damage that affects the tracks or door balance
If you live in a San Mateo home with an original door from the mid-century construction boom, replacement is worth discussing honestly. An older door can be perfectly fine with fresh springs and hardware, and sometimes a full installation is the smarter choice for a home you plan to keep. We’ll tell you which one actually makes sense for your door rather than steering you toward the option that’s better for us. If you want to understand what a repair typically involves, see our garage door repair page. If the issue is the opener itself, our garage door opener repair page covers brands and symptoms. For a broader overview, look at our San Mateo page and our Quarry Garage Door Repair home page. Whichever path you choose, a technician who has worked on multiple brands will match the part correctly and save you the guesswork.
Common Mistakes to Avoid
- Spraying WD-40 on the springs and tracks. It evaporates, attracts grit, and does nothing for spring longevity. Use lithium grease on springs and leave the tracks dry.
- Lubricating the tracks. A little silicone is fine for cleaning, but never leave a film. Grease in the tracks traps grit and grinds against the rollers.
- Ignoring small stains on the springs. In San Mateo’s damp-dry cycles, a stain is often the first sign. Catch it early and you avoid a snapped spring.
- Skipping the monthly auto-reverse test. It’s the single most important safety check in your garage. The force setting can drift over months and the door can become unsafe without any noise or visible sign.
- Assuming a dry climate guide applies here. Any maintenance advice written for a dry, hot climate misses the corrosion and damping issues San Mateo homes actually face.
- Replacing weatherstripping with the wrong profile. A universal strip that doesn’t fit the door’s bottom track leaves gaps. Measure the old seal carefully before buying a replacement.
- Tightening the springs yourself. Torsion springs hold the entire weight of the door under tension. Adjusting them without the right tools and knowledge causes serious injury. This is the one part a homeowner should never handle.
See the difference
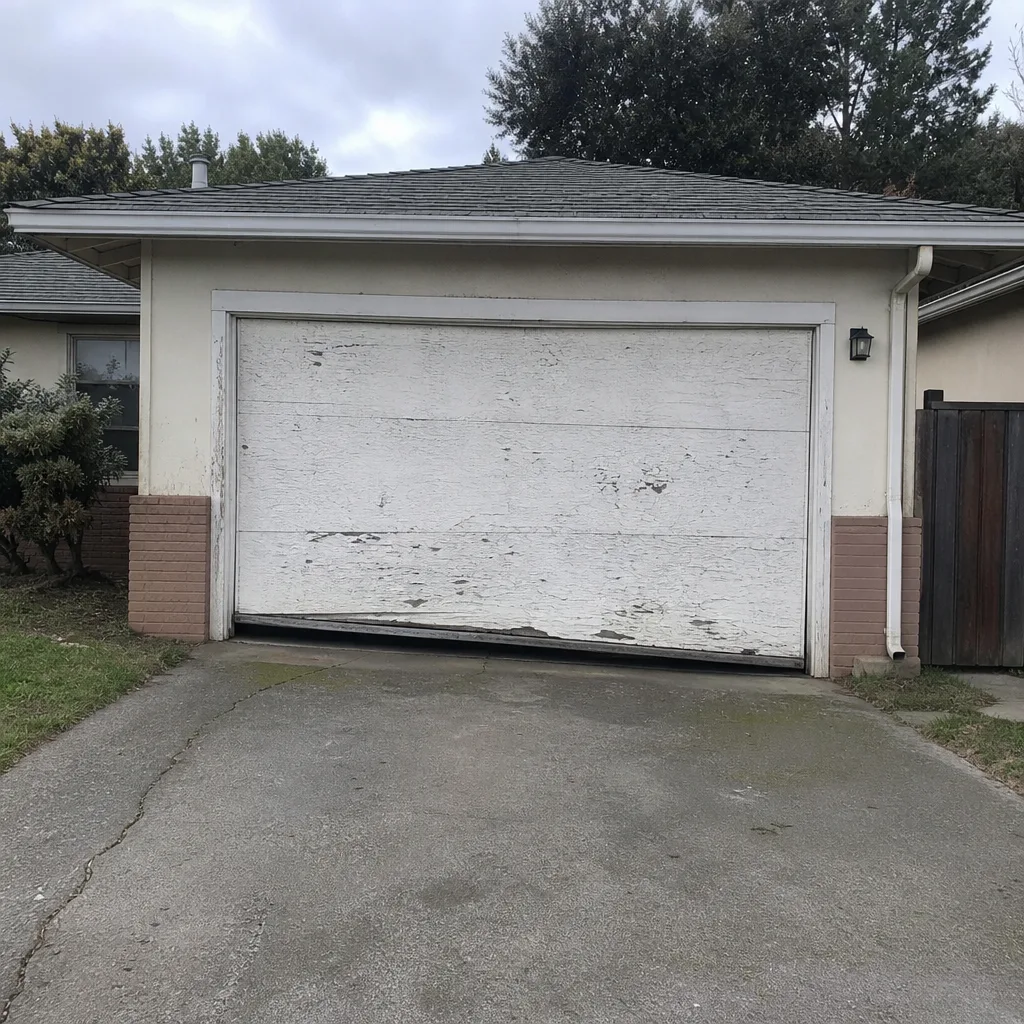 Before
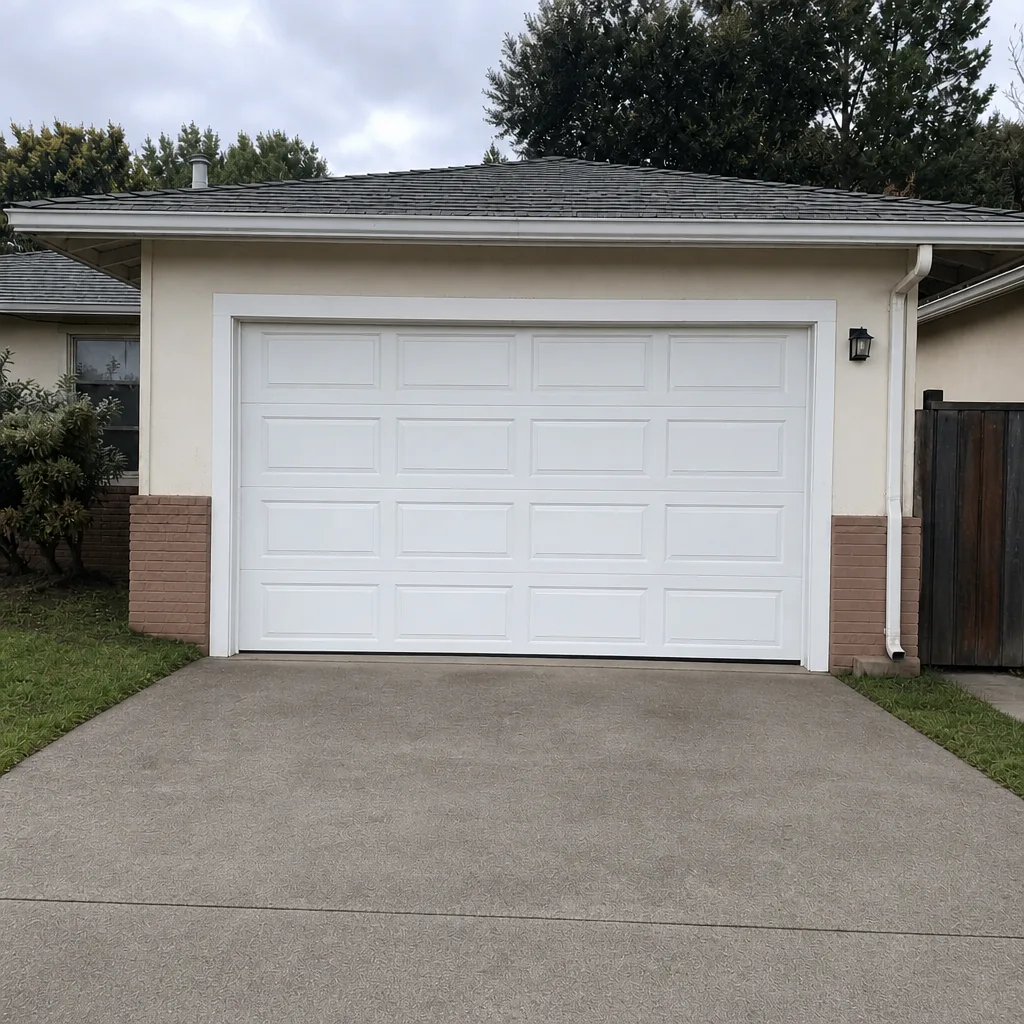 After
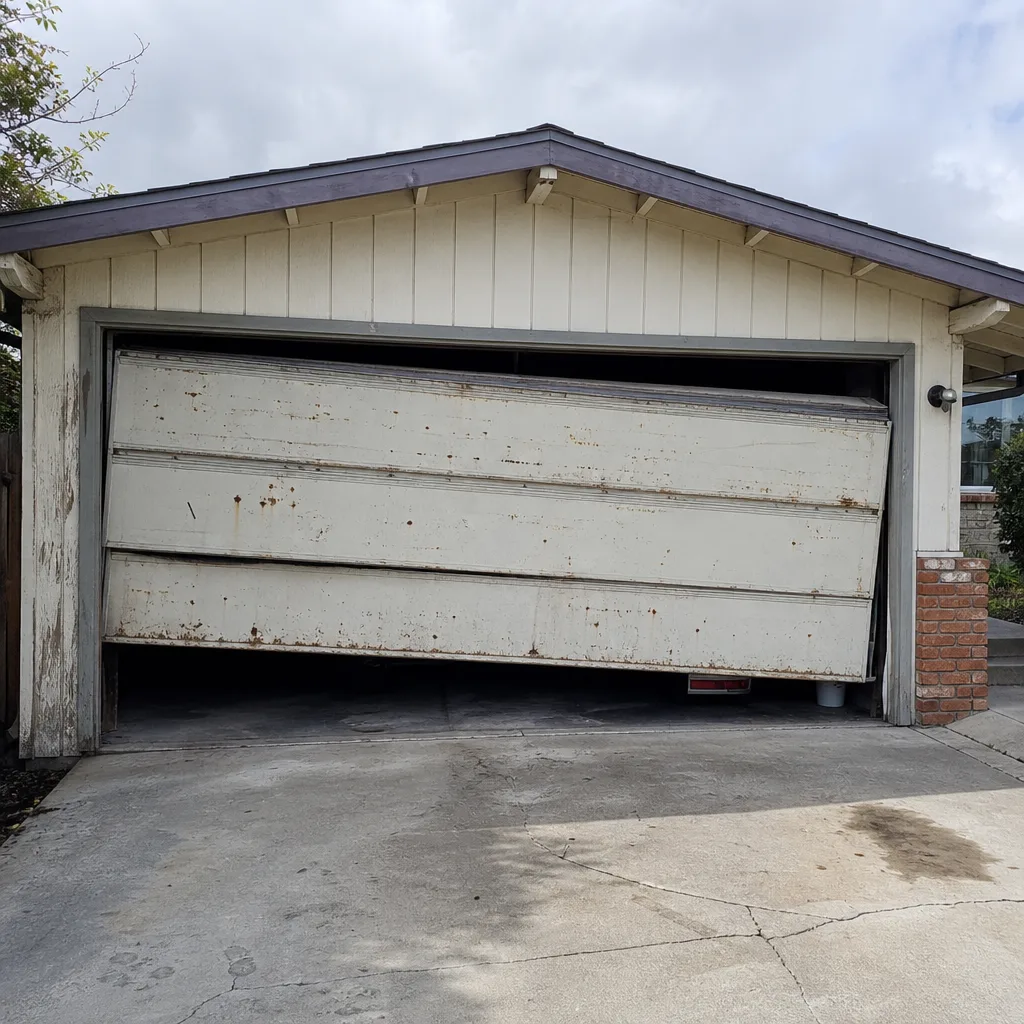 Before
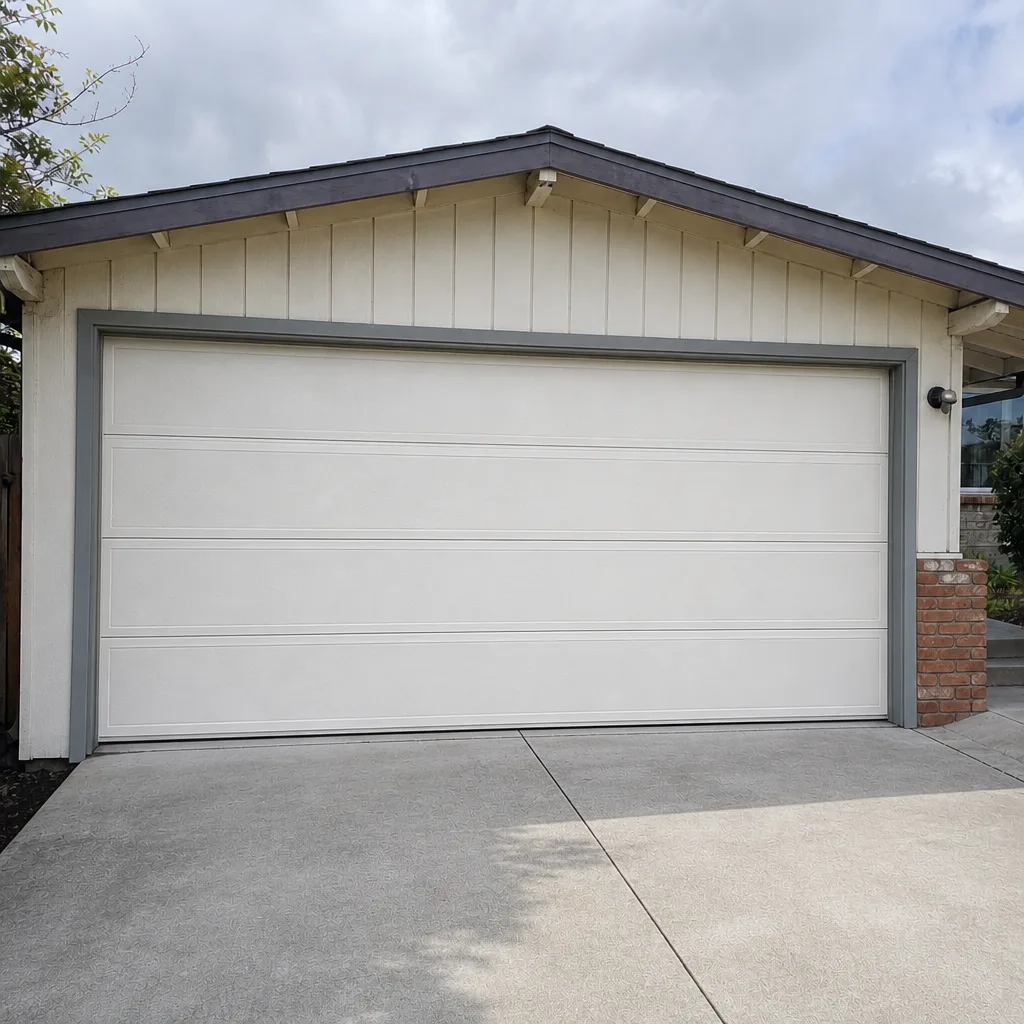 After
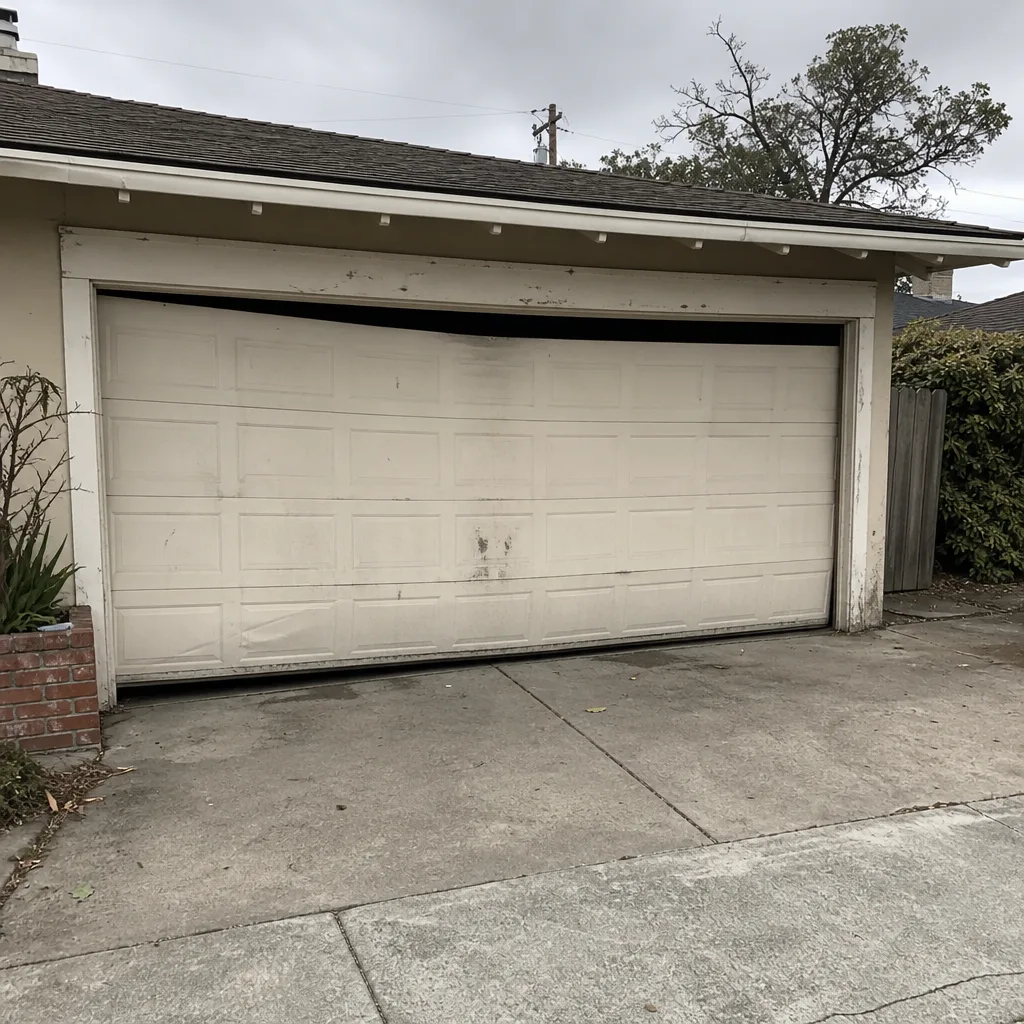 Before
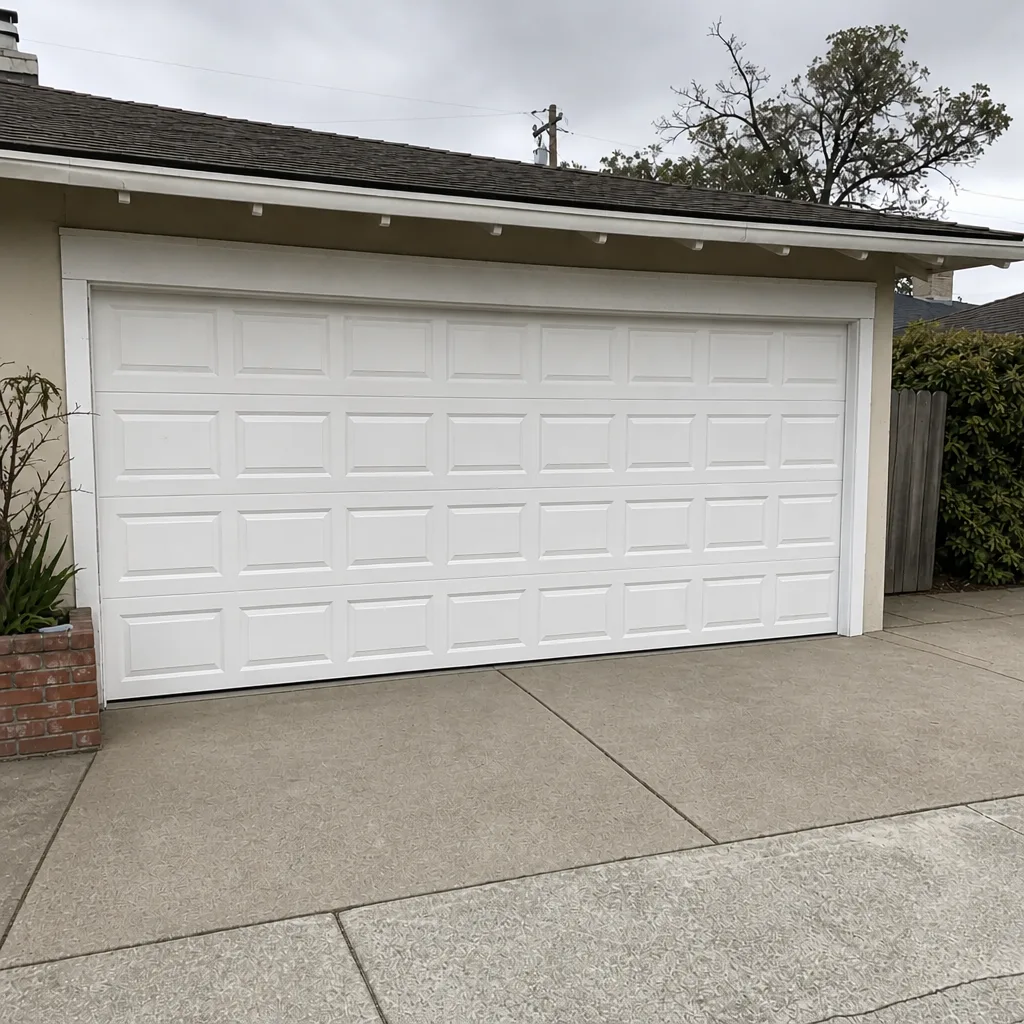 After
When to Call a Professional
Call a technician if any of these apply: a broken or sagging spring, any fray to the cables, a door that reverses on its own, the door failing to close, a door that’s visibly out of balance, a loud bang during operation, an opener that has stopped responding to any remote, a force setting that won’t hold, or any suspicion of a track that has bent or been hit. A technician should also do a full inspection once a year even if the door seems fine. Quarry Garage Door Repair offers free estimates in San Mateo; our technicians have up to 11 years of experience across LiftMaster, Chamberlain, Genie, Clopay, Amarr, Wayne Dalton, Craftsman, and Raynor systems. Call (877) 373-8927 – we answer 24/7, with fast dispatch from 7am to 7pm, Sunday through Friday.
Frequently Asked Questions
Do a monthly visual check and safety test, lubricate roller stems quarterly, and grease springs and hinges twice a year. Because San Mateo’s damp-dry cycles cause corrosion faster than most inland climates, monthly spring inspections are more important here than the once-a-season check written for drier places.
Yes, applying lubrication to the surface of a torsion spring is safe as long as the door is closed and you’re standing on the ground, not the door itself. Do not attempt to adjust, unload, or replace the spring. That work carries a serious injury risk and requires a technician.
The most common opener families in San Mateo garages are LiftMaster, Chamberlain, Genie, and Craftsman. If you’re unsure which one you have, the brand is usually printed on the motor housing under the light cover.
Lay a 2×4 board flat on the floor in the door’s path and press the wall control to close it. When the door contacts the board, it should reverse within a second or two. If it keeps pushing, the force setting is too high and needs adjusting. A door that fails this test should not be used until it’s fixed.
Look again at the bottom corners of the seal. In San Mateo’s damp-dry cycles, seals harden and shrink subtly, so the seal may look intact but leave a quarter-inch gap at each corner. Test by running a hand along the bottom on a cold morning. The draft is usually strongest at the corners and the sides.
Repair usually makes sense if the door has one or two isolated problems and the panels are structurally sound. Replacement makes more sense if you’ve had repeated repairs, if multiple panels are rusted through, or if the door isn’t insulated for a room you use year-round. A technician can give you a straight answer once they see the door.
The Bottom Line
The best garage door maintenance for San Mateo is about slowing corrosion on springs, cables, and hinges, not about checking for snow damage or heat warping. A monthly walkaround takes minutes, but it catches the surface staining that tells you a spring is on its way out. Quarterly lubrication and a twice-yearly grease of the springs and hinges keep the moving parts healthy through the damp-dry cycles that define the Peninsula. Test the auto-reverse every month. Replace weatherstripping at the first sign of a corner gap. And stop at the springs: that’s the point where a trained technician should take over, not you.
If you’re in San Mateo and want a professional check on your door or opener, call (877) 373-8927 for a free estimate. We work on the brand you already have, and we’ll tell you whether a repair or a replacement is the honest choice for your door.
Written by the team at Quarry Garage Door Repair.